Training—it’s what separates a chef from a Michelin-starred chef. And distinguishes a singer from a Grammy winner. It’s what makes an intern a competent asset to an organization, and of late, it’s what it takes to build an AI agent. Likewise, businesses are soon recognizing the power of promising AI agents.
AI agents are intelligent software systems that take in their environment and make smart decisions. They respond autonomously without constantly needing input. AI agents can learn, adapt, and make smart decisions depending on users’ needs. They can predict market trends, help with problem-solving, optimize workflows, automate customer queries, and more. So it’s no surprise that they are soon becoming an indispensable part of software development.
CollabAI is a powerful platform designed for crafting AI agents, and it’s friendly for everyone, not just developers. It connects easily with leading AI models like OpenAI, giving users the tools to set up and tweak their agents quickly. With cool features like interpreting code, searching files, and a user-friendly layout, CollabAI helps people develop effective AI solutions without needing programming knowledge. In this blog, let’s look at how to build an AI agent with CollabAI.
Understanding CollabAI
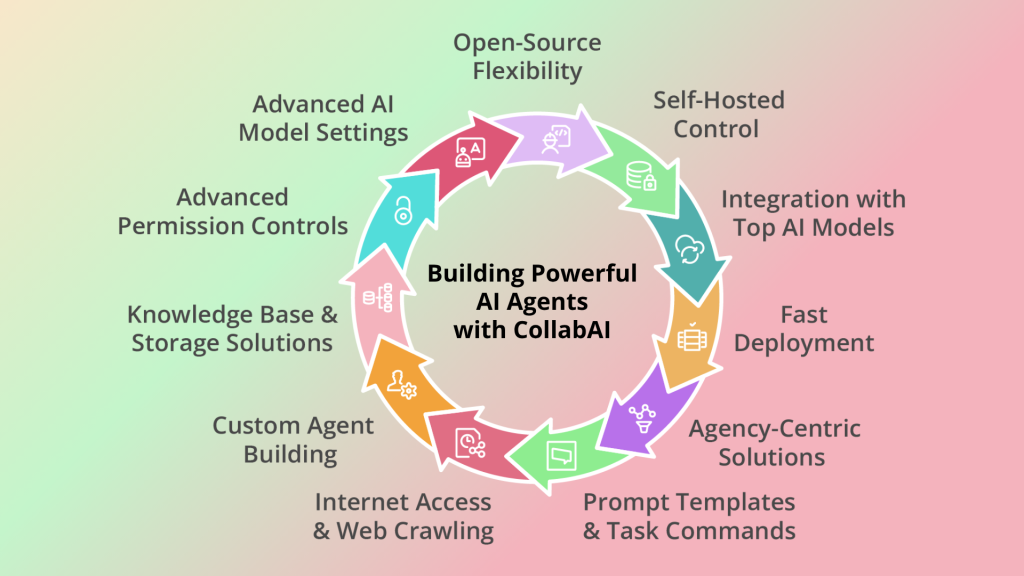
Before looking at how to build an AI agent, let’s look at the core features of CollabAI. The image below gives you a good idea:
Setting Up CollabAI
Let’s look at how to create an account in CollabAI:
To get started with CollabAI, follow these simple steps to create an account:
Visiting the Website: When you open https://app.collabai.software/login, you are directed to the login page of CollabAI, where you can sign in using your account credentials.
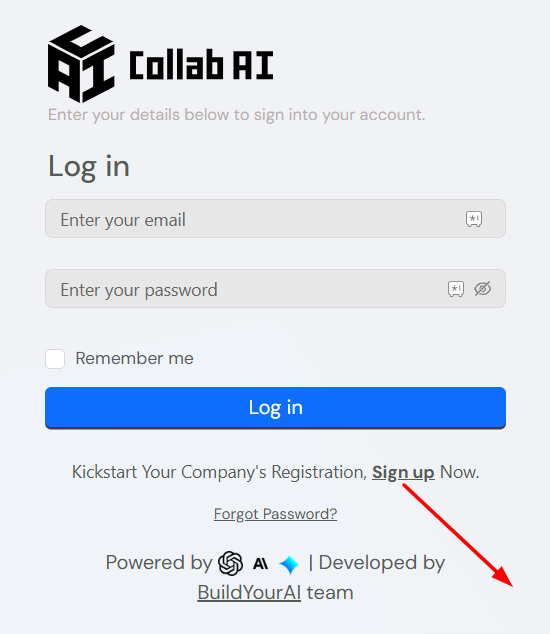
Getting Started: Hit ‘Sign Up’.
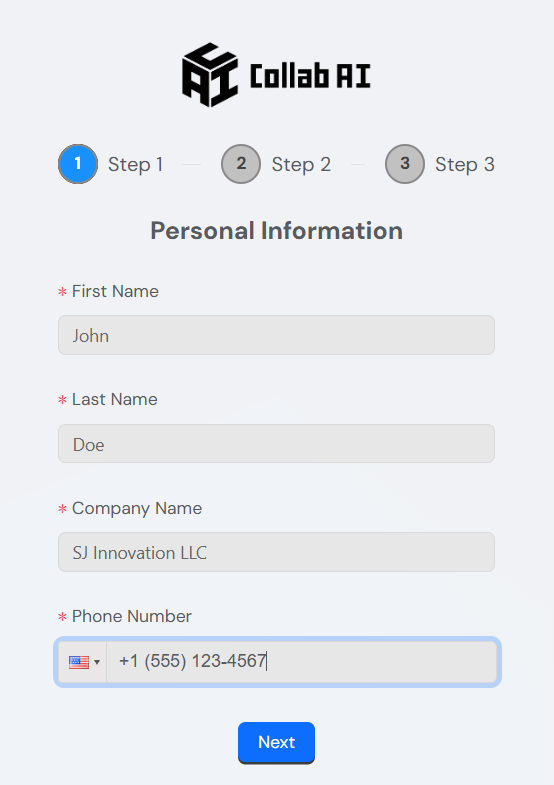
1: Enter your organization’s info and hit ‘Next’.
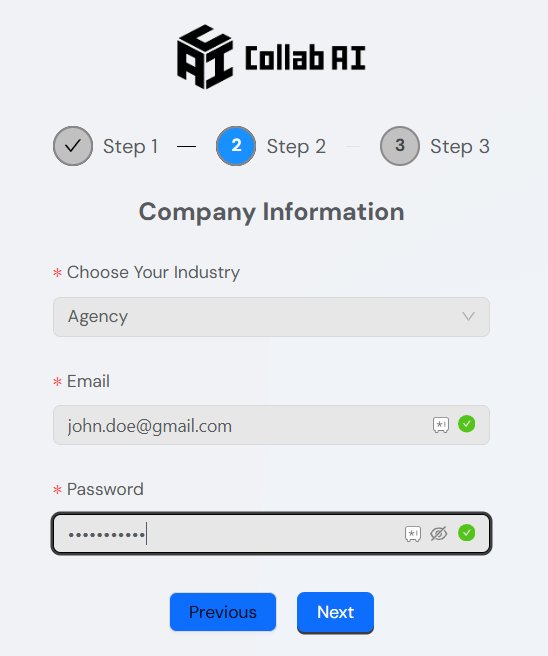
2: Choose your industry and add your email and password. Then, click ‘Next’.
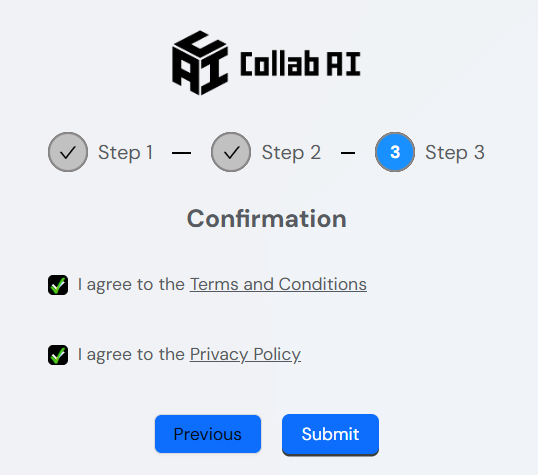
3: Click ‘I Agree’ and ‘Submit’.
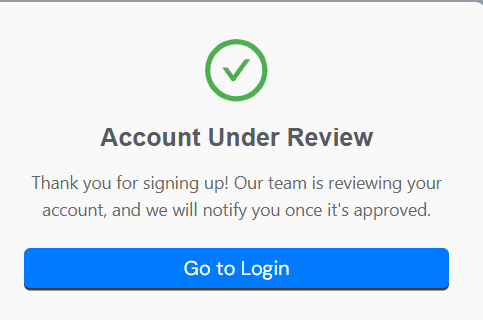
Account Verification: Once you’ve submitted your info, you will receive a verification email. Click the link in the email to verify your account and complete the registration.
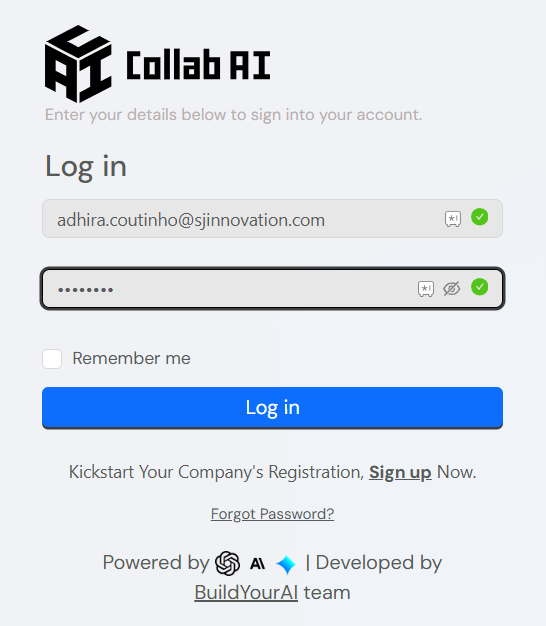
Manage CollabAI Dashboard: After entering your email and password, just click “Log in” to get into your CollabAI dashboard. Here’s where you can handle your AI agents, tweak settings, and explore all the features the platform has to offer.
Familiarizing with the Dashboard
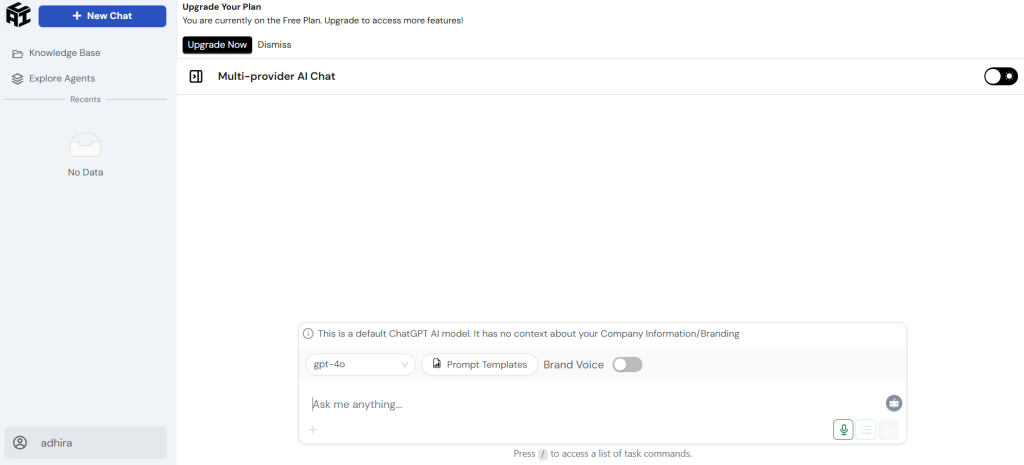
Overview of the Interface:
- The dashboard is user-friendly, with a sidebar that lets you easily move through different areas like “Knowledge Base” and “Explore Agents.” This design makes it easy to find the key tools you need.
Key Features:
- Crucial options such as creating and managing AI agents, accessing the knowledge base, and tweaking settings like AI model configurations are all right there on the dashboard.
Important Tools:
- You’ll find features like prompt templates, conversation starters, and options for customizing agents that really improve your experience. Getting to know these tools is important for using CollabAI effectively.
By combining these elements, this guide helps you to navigate and make the most out of the dashboard.
Section 3: Defining What Your AI Agent Does

Identifying Objectives:
To figure out your AI agent’s purpose, start with some essential questions:
- What tasks will it do? Decide what specific roles your agent will fill, like answering customer questions or assisting with brainstorming. Make sure these tasks fulfill the needs they are meant to.
- Who will be using it? Identify different user groups and make the agent interact in a style that they want, like using tech lingo for software experts.
- What data does it need? List the data sources your agent will rely on for it to work well, including user preference info for personalized chat.
Business Use Case: Virtual Meeting Planner Agent
Mapping Out Use Cases:
- Scenario Planning:
Picture your AI as a Virtual Meeting Planner that simplifies business meetings. It could handle scheduling, create agendas, and follow up after meetings. - Core Interactions:
Think about how the AI will connect with users. For instance, it might send reminders, suggest times based on everyone’s calendars, and gather agenda points. - Capabilities Definition:
Your planner needs to work with popular calendar services, interpret schedules, and send out timely notifications. Consider adding features like visitor management for in-person meetings to ramp up security. - Feature Selection:
Pinpoint tools and plugins necessary for these tasks, like calendar integrations and email notifications. This way, you can create a smooth and efficient meeting management experience.
Building Your First AI Agent: Step-by-Step Guide
Here is a step-by-step guide on how to build an AI agent using CollabAI:
1. Navigate to ‘My Agents’
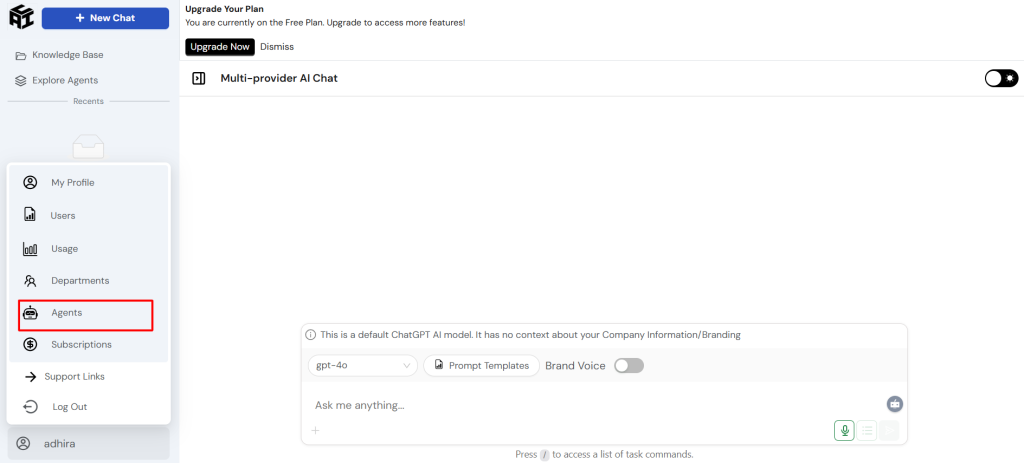
- First off, log in to the CollabAI platform.
- Then, find the left navigation bar and click on ‘Agents’. This will bring you to the ‘My Agents’ page, where you can kick off the process of creating a brand-new AI agent.
2. Initiate Agent Creation
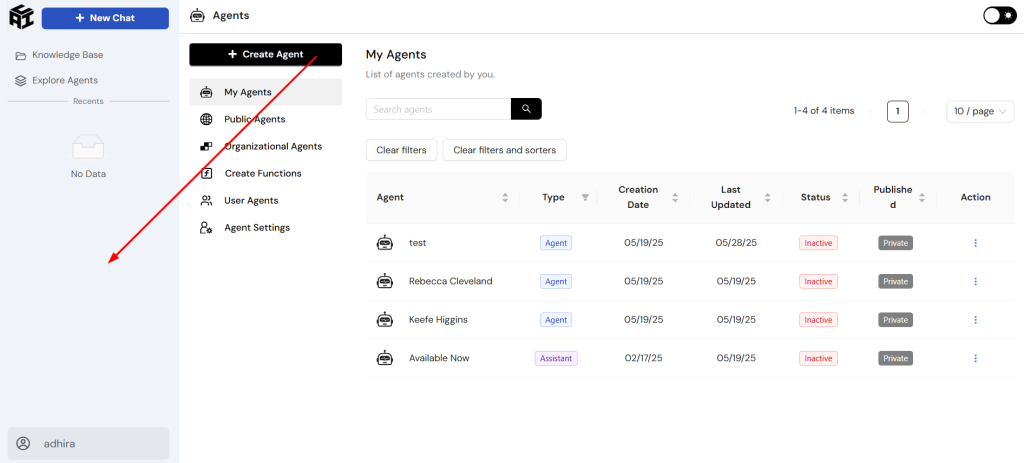
- Next, hit “Create Agent” in the top left corner.
- You’ve got the option to start fresh or pick an existing agent ID if that works better for you.
3. Configure Basic Details

- Name and Image: Give your agent a name, and if you like, choose or upload an avatar that represents it.
- Instructions: When it comes to instructions, be sure to spell out what you want the agent to do. The clearer you are, the better it will be at handling tasks.
- Description: Write a quick description that sums up what your agent is all about.
4. Define Functional Aspects
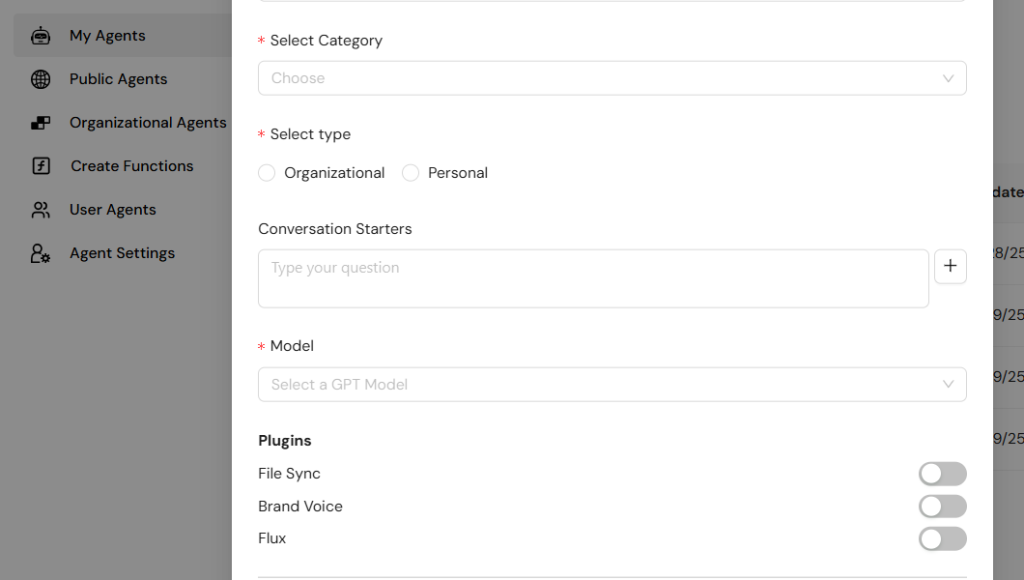
- Category and Type: You’ll also need to pick a category—like Marketing, HR/Admin, or Productivity—and decide whether this agent will be personal or for an organization.
- Models and Plugins: Choose appropriate AI models and enable plugins such as File Sync and Function Calling as needed.
5. Enhance with Tools and Integrations
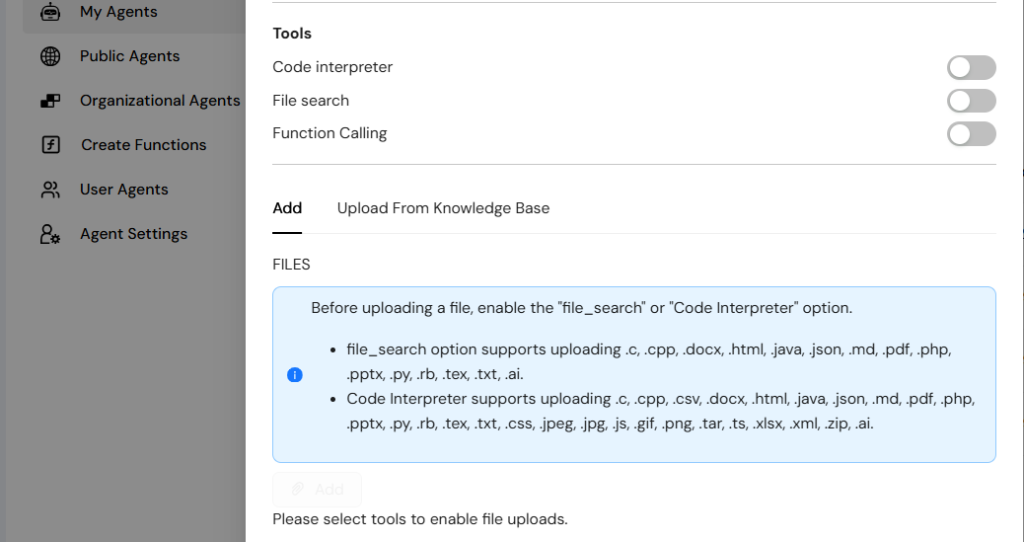
- Tools: Tap into tools such as the Code Interpreter and File Search to amp up your agent’s abilities, making sure it can tackle more complex tasks and find the data it needs.
- Connect Apps: Integrate relevant applications to enhance the agent’s capability.
6. Establish a Knowledge Base
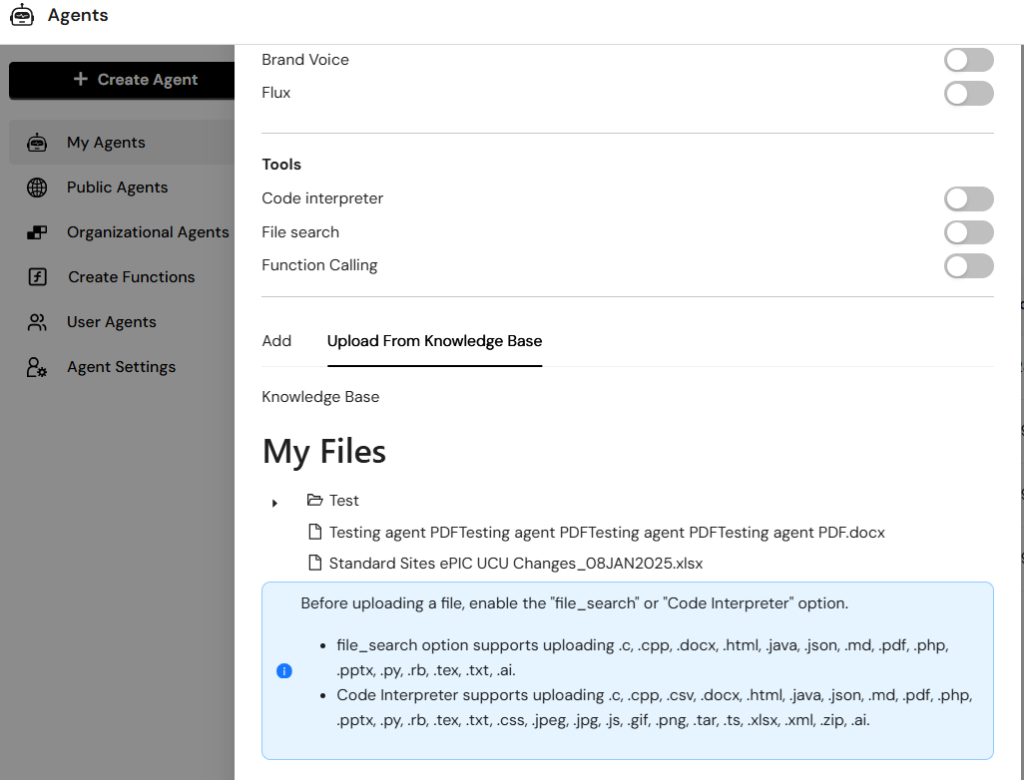
- CollabAI offers a centralized knowledge base where you can upload and manage all kinds of files like documents, PDFs, text files, and more. This way, your AI agents can access info to give you spot-on, context-rich answers tailored to your unique data.
- To add files to Knowledge Base:
- Navigate to the “Knowledge Base” section in your dashboard.
- Click “Upload From Knowledge Base” and select documents (PDFs, Word docs, text files, etc.)
- Organize files into relevant categories for easy management.
- Wait for the system to process and index your documents.
- To Select Knowledge Base Files for Your Agent:
- In the agent creation process, scroll to “Knowledge Base” section.
- Browse through your uploaded files and select relevant documents.
- Choose specific files that align with your agent’s purpose.
- The agent will now have access to information from these selected files.
- Enabling Essential Tools:
- File Search Tool: Toggle this ON to allow your agent to search through uploaded documents.
- Function Calling: Enable this feature to let your agent execute specific functions and API calls.
- Code Interpreter: Activate for agents that need to process data or generate code.
7. Finalize and Create the Agent
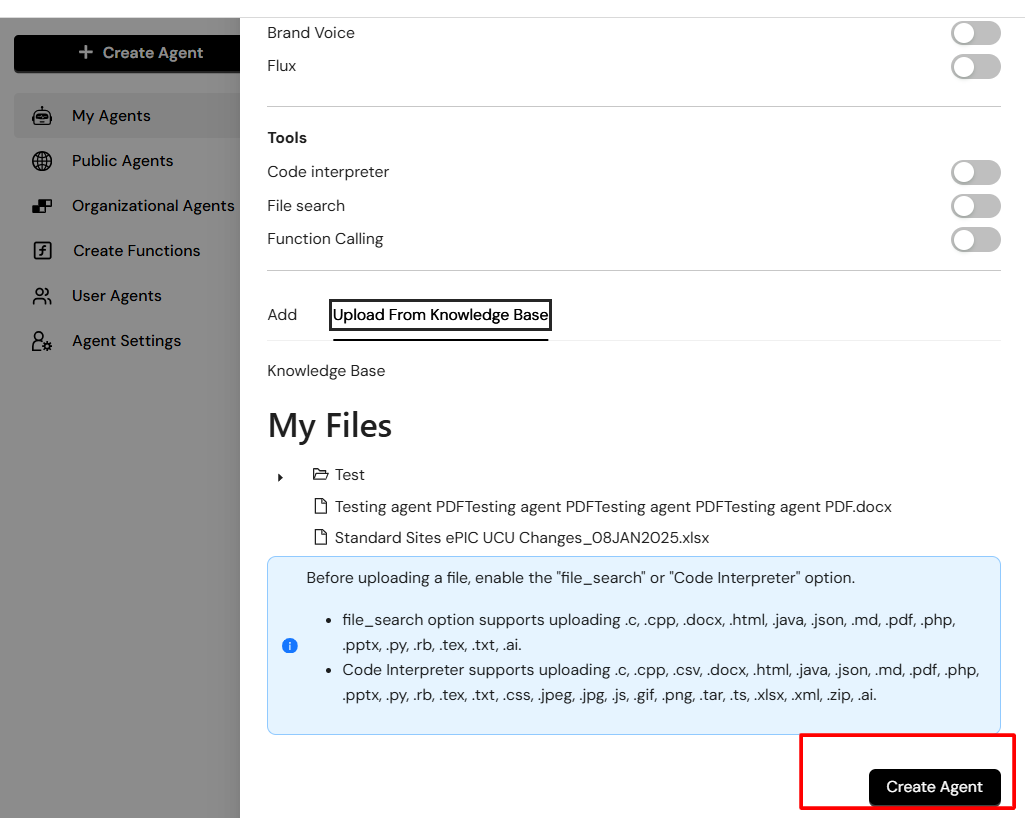
- After everything is set up, just click “Create Agent” and you are done.
And there you have it, your custom AI agent built just for you.
Customizing Your Agent Using Configurations
Here’s how to personalize your AI agent:
- Selecting and Integrating AI Models:
Select from leading AI options that fit your needs, such as OpenAI’s GPT, Google’s Gemini, or Anthropic’s Claude. Consider how they perform, their speed, pricing, and any special features they offer. - Adjusting Advanced Settings:
Adjust key settings like response temperature (which balances creativity and consistency), maximum token limits (how long responses can be), and frequency penalties (to avoid repetition). These decisions influence how your agent behaves and the quality of its replies. - Setting Up Conversation Starters and Managing User Permissions:
Design interesting conversation starters that help users have meaningful chats. Make sure to set clear permission levels so only the right folks can access sensitive features, keeping everything secure. - Setting Up Intents and Responses:
Identify the specific intents your agent should recognize and prepare appropriate responses. This organized approach ensures that your communication aligns with user expectations and your business goals. - User-Friendly Language and Context-Awareness:
Tailor your communication style to your audience, keeping it simple yet fitting for the context during interactions. - Integrating APIs and Databases:
Integrate external services like CRM platforms, databases, or third-party APIs to enhance your agent’s capabilities and provide users with relevant, real-time information. - Configuring Advanced Tools and Functions:
- Setting Up Function Calling: Define specific functions your agent can execute, such as:
- Database queries
- API integrations
- Custom business logic operations
- Third-party service connections
- Optimizing File Search Settings:
- Set search parameters for document retrieval
- Configure relevance thresholds
- Define search scope within your knowledge base
- Customize how search results are presented to users
- Knowledge Base Integration:
- Map specific document categories to agent responses
- Set up automatic file updates and syncing
- Configure access permissions for sensitive documents
- Establish fallback responses when information isn’t found in the knowledge base
- Setting Up Function Calling: Define specific functions your agent can execute, such as:
Testing Your AI Agent
It’s not just knowing how to build an AI agent; you also need to test it to ensure your AI agent performs well, is accurate, and can be trusted before you launch.
- Test and Refine Responses:
Pay attention to how you frame prompts and refine your instructions to get the best results from your agent. A good prompt should be clear, specific, and offer enough context for the task. Include details about the topic, your needs, and your audience to guide the response. Any background info can help the model understand the context. Every prompt should have a clear purpose, whether it’s to generate text, answer a question, or complete a task. Experiment with different phrasing and keep tweaking your prompts based on the quality of the responses. - Implement Iterative Feedback Loops:
Set up a way to collect user feedback, testing the agent and other stakeholders. Create cycles of testing, analyzing, and refining to continuously improve performance. Monitor metrics like response accuracy, user satisfaction, and completion rates. - Use Real Conversations:
Launch the agent in controlled environments with real users to gather authentic interaction data. Monitor actual conversations to catch trends, recurring issues, and opportunities for improvement. This hands-on testing can highlight gaps that simulated tests might miss. - Continuous Monitoring:
Keep monitoring performance even after launching the agent. Use analytics to track success rates, user engagement, and areas needing adjustments.
Conclusion: How to Build an AI Agent
Maintain a cycle of continuous improvement with new training data, algorithm updates, and performance adjustments. Keep an eye on user interactions to identify areas for growth and regularly update instructions to meet evolving needs.
I encourage you to explore the potential of CollabAI and play around with its advanced customization features. There’s always room to innovate and reinvent your business strategy.
So, why not try it out? Start building your own AI agents with CollabAI! You can get started for free today and join thousands of users already building amazing AI agents. For more detailed guides and resources on how to build an AI agent, check out CollabAI’s GitHub or documentation.
Don’t miss out – reach out to our CollabAI team right now!